
Should any self-respecting Toyota wearing the evocative Toyota Racing Development (TRD) badge be allowed to run standard road-specification suspension? We do not think so, even when that vehicle is an environmentally-friendly Prius Plug-in.
See also:
Toyota Prius Plug-in TRD project: Part 1 – Wheel and tyre package
Toyota Prius Plug-in TRD project: Part 3 – Rear suspension setup and wheel alignment
Toyota Prius Plug-in TRD project: Part 4 – TRD accessories
Toyota Prius Plug-in TRD project: Part 5 – Rear spoiler
Toyota Prius Plug-in TRD project: Part 6 – Front and rear bumper spoilers
Toyota Prius Plug-in TRD project Flickr album
Toyota Prius Plug-in TRD Nürburgring record Flickr album
Granted, our Prius Plug-in TRD project will never be fast enough to shred tarmac, but the real advantage of fitting suspension developed through race technology is the greater body control and feedback it offers; qualities that can be appreciated by all drivers. Toyota models with optional TRD Sportivo suspension packages react more immediately and obediently to steering inputs, while the reduced bouncing and pitching of the body makes the ride feel more stable and secure, improving passenger comfort.
Changing the suspension of any car is a complex affair that should be tackled by a qualified technician with the requisite tools. Fortunately, we had one of Toyota’s master technicians on hand and a fully equipped workshop to fit the TRD Sportivo kit to our Prius Plug-in.
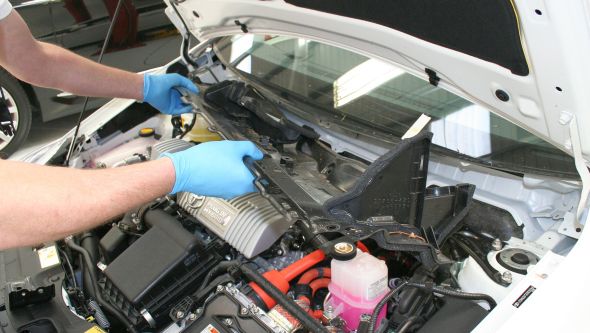
Accessing the upper mounting points of the front suspension struts was the first of many tricky tasks, given that they are located under the scuttle panel and tray at the bottom of the windscreen. To get past this obstruction we disconnected the windscreen wiper arms, released the clips holding the plastic scuttle in place, removed the wiper motor, and finally the dozen bolts holding the metal tray underneath.
Once the three top mount bolts on each side were loosened, the Prius was raised on the lift and the original wheels were removed so we could get to the lower fixings.
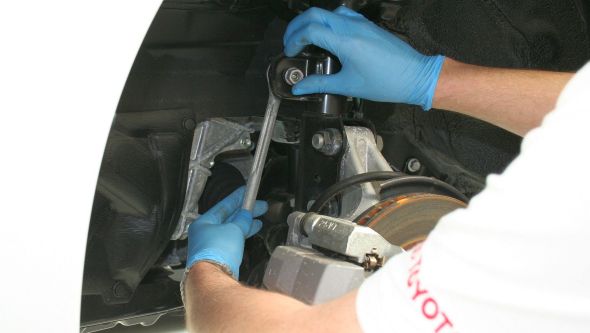
First to be undone was the drop link connecting the strut to the anti-roll bar, followed by the brake pipe and ABS wiring brackets (handed for either side). The two hefty bolts holding the bottom of the strut to the hub carrier were then removed entirely, and by manually supporting the weight of the strut it was possible to undo the top mount bolts by hand and remove the strut assembly from the car.
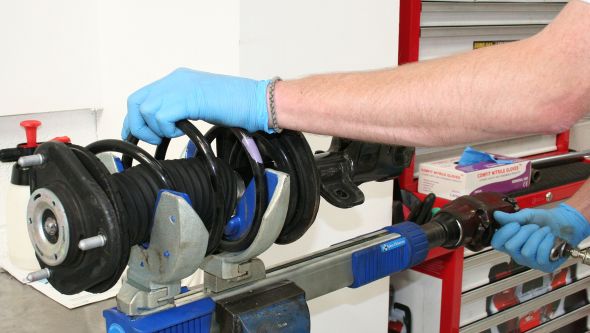
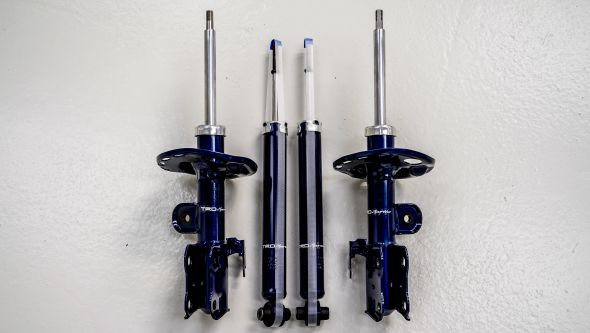
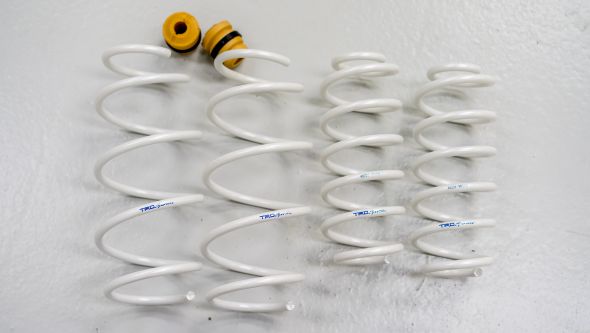
A spring compressor was used to take apart the front strut, a necessity considering the damage that could be wreaked if tension on the spring were suddenly released. The swivel top mount, collars, rubber dust guard and rubber spring seat all needed to be reused in the new Sportivo strut. It is vital that all components line up correctly during reassembly, especially the location of the end of the coil within the spring seat.
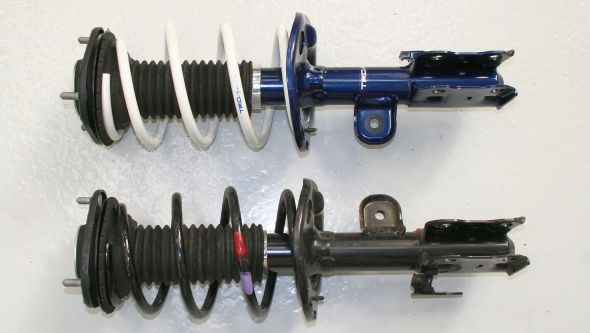
Predictably, installation of the new strut reversed the removal procedure, albeit with the bolts tightened to the recommended torque settings. The bottom strut bolts, for instance, needed to be torqued to a massive 177 lb/ft – more than the Prius Plug-in powertrain produces at its peak!
Look out for the third build chapter next week, when we tackle the rear suspension.
See also:
Toyota Prius Plug-in TRD project: Part 1 – Wheel and tyre package
Toyota Prius Plug-in TRD project: Part 3 – Rear suspension setup and wheel alignment
Toyota Prius Plug-in TRD project: Part 4 – TRD accessories
Toyota Prius Plug-in TRD project: Part 5 – Rear spoiler
Toyota Prius Plug-in TRD project: Part 6 – Front and rear bumper spoilers
Toyota Prius Plug-in TRD project Flickr album
Toyota Prius Plug-in TRD Nürburgring record Flickr album


“Should any self-respecting Toyota wearing the evocative Toyota Racing Development (TRD) badge be allowed to run standard road-specification suspension? We do not think so, even when that vehicle is an environmentally-friendly Prius Plug-in.” – So why did the UK Spec TRD GT86’s have exactly the same normal suspension as the non-TRD version please?
Hi Lee,
Good point!
Thanks.