
Unlike those for the rear spoiler, we were relieved to find that the instructions for fitting the front and rear TRD bumper spoilers were written in English and extremely detailed in both description and content. The fitting kit contained everything from a choice of rubber sealing strips for the edges of the kit (grey or black) to engraved stainless steel plaques and the black vinyl shapes that create the appearance of air ducts.
See also:
Toyota Prius Plug-in TRD project: Part 1 – Wheel and tyre package
Toyota Prius Plug-in TRD project: Part 2 – Front suspension setup
Toyota Prius Plug-in TRD project: Part 3 – Rear suspension setup and wheel alignment
Toyota Prius Plug-in TRD project: Part 4 – TRD accessories
Toyota Prius Plug-in TRD project: Part 5 – Rear spoiler
Toyota Prius Plug-in TRD project Flickr album
Toyota Prius Plug-in TRD Nürburgring record Flickr album
Once again it became evident that the key to fitting the lower bumper sections was the super-accurate drilling of the fixing points. Lots of intricate cardboard templates were supplied to remove all guesswork from this task, each template being designed to line up with specific shapes, swages or mounting points on the body to determine the precise locations of the drill holes.
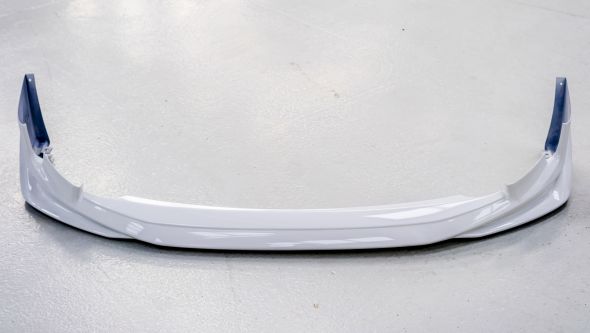
Four 7mm and 9mm mounting holes were drilled around the leading edge of the arches and under tray to secure the front bumper section, but the use of strong double-sided tape around all the edges would make the connection to the original bumper moulding additionally secure.

After thoroughly cleaning and degreasing the panels, the front bumper section was manhandled into place with only a little bending and pulling. So precise was the fitment that when it clicked satisfyingly into place all the mounting holes lined up perfectly.
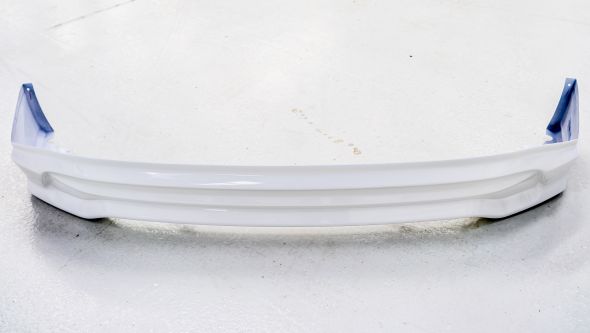
We had to remove the wheels to be able to drill the mounting holes around the arch radius for the rear bumper section. But unlike the front, which has various vents for the new TRD panel to grip around, the standard Prius Plug-in‘s rear end is relatively flat and impossible for anything other than adhesive to get a firm hold on. So the new panel required two supplementary hard-mounting points in the middle of the bumper.
Drilling into unseen parts of a car’s body is one thing; making irreversible holes in a highly visible portion of a body panel is another thing entirely. Fortunately, TRD’s engineers were extraordinarily precise about the location of these holes, providing large templates that even used the angles of swage lines to fix the position correctly.
Captive bolts were fitted to the reverse side of the new panel ready to insert through the holes in the bumper. Again, the fitment was superb, and we all breathed a final sigh of relief when everything lined up correctly. Small ‘tongues’ of silicone release tape had been left showing above the rubber seals, and once these were removed the panel was pressed into its final position.

With the rear wheels put back on, our Toyota Prius Plug-in TRD was complete and ready for action.
But what sort of action? All will be revealed soon… but for the moment what we can say is that our modified Prius will be heading off on a dramatic, record-making road trip to mainland Europe.

See also:
Toyota Prius Plug-in TRD project: Part 1 – Wheel and tyre package
Toyota Prius Plug-in TRD project: Part 2 – Front suspension setup
Toyota Prius Plug-in TRD project: Part 3 – Rear suspension setup and wheel alignment
Toyota Prius Plug-in TRD project: Part 4 – TRD accessories
Toyota Prius Plug-in TRD project: Part 5 – Rear spoiler
Toyota Prius Plug-in TRD project Flickr album
Toyota Prius Plug-in TRD Nürburgring record Flickr album